Whether you’re updating your existing site or starting from scratch, your website’s content and layout are often in production side by side. It’s very much a case of chicken & egg and there’s nothing like a client springing last-minute content on you after development that needs to be accommodated. It’s for this reason I started using a content planning system to help keep my clients and my team on the same page. Some clients often find it difficult to produce content blindly outside of a website structure. This method addresses content in stages and mirrors the design process:
During sitemapping and wireframing → an idea of the type of content of each page. Example: “This page has some copy, a gallery and a price table”
During design → an idea of what the content looks like. Example: “The copy has three key sections, the gallery is a slider with approximately 20 images, and the price table has 3 columns and about 20 rows.”
During Development → final draft including links, downloads, images and other resources. Example: “This is the copy, here are the images you need, here are the specific features for the price table”
I use a Google sheet to keep us both on track, along with centralised Google Drive folders and documents to keep everything super open.
How to use
I always introduce clients to the content planner sheet early on in the process, especially if their team has little experience writing content. Each tab can be used at various stages of the website production process:
1. The first tab, ‘Content Audit‘ is useful prior to workshop stage. This helps the client to analyse how useful their current content is, and ascertain what needs to change to meet the new site’s goals. This means they’ll come to any kick off meeting with some preprepared ideas about the changes they want to make to the site structure.
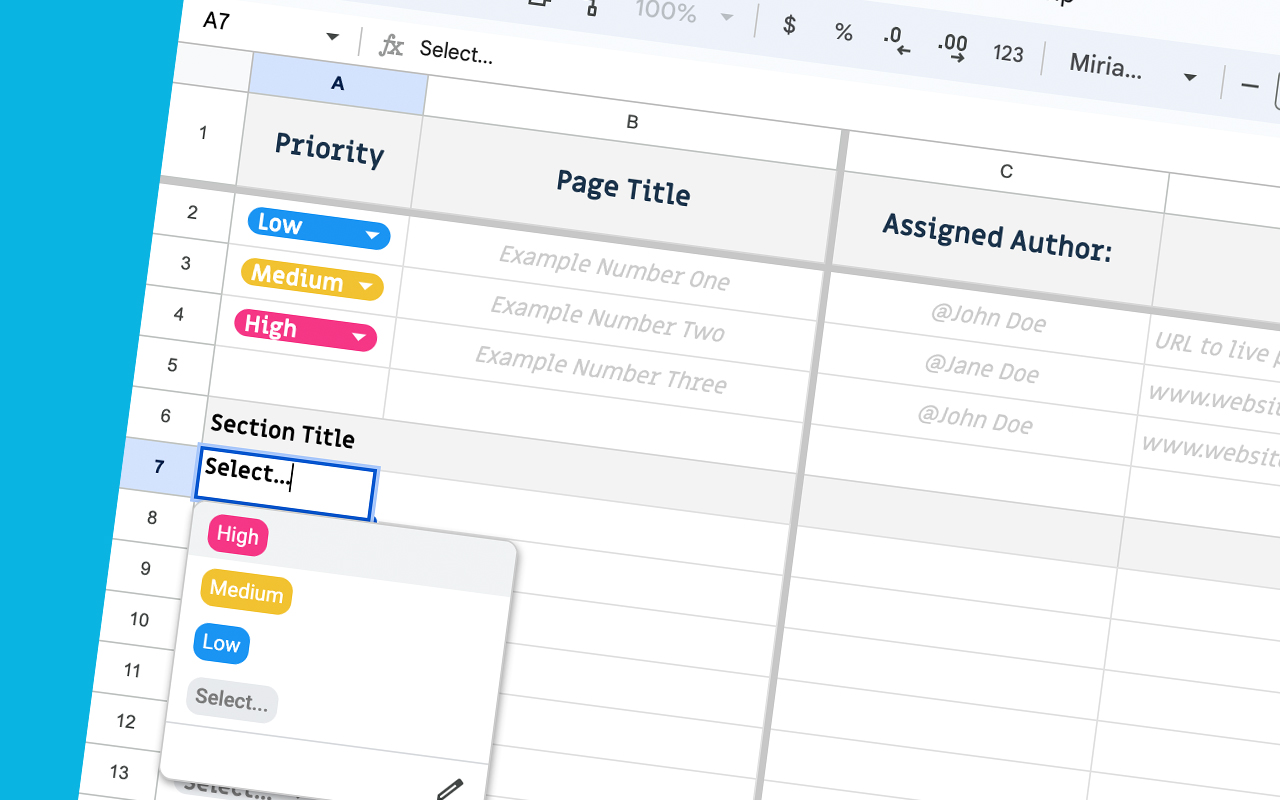
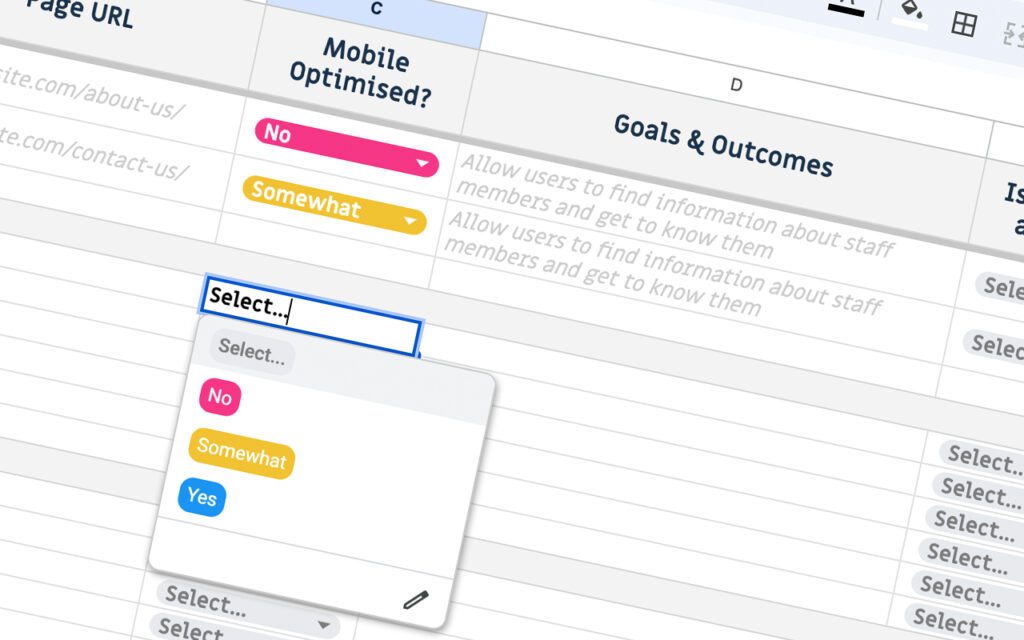
2. The second tab, ‘Content Production’ is the main meat & potatoes. After a provisional sitemap is agreed, I populate the this tab with page names over on the right. From here, it’s over to the client to add content documents, assign authors to specific pages, proofread and sign off.
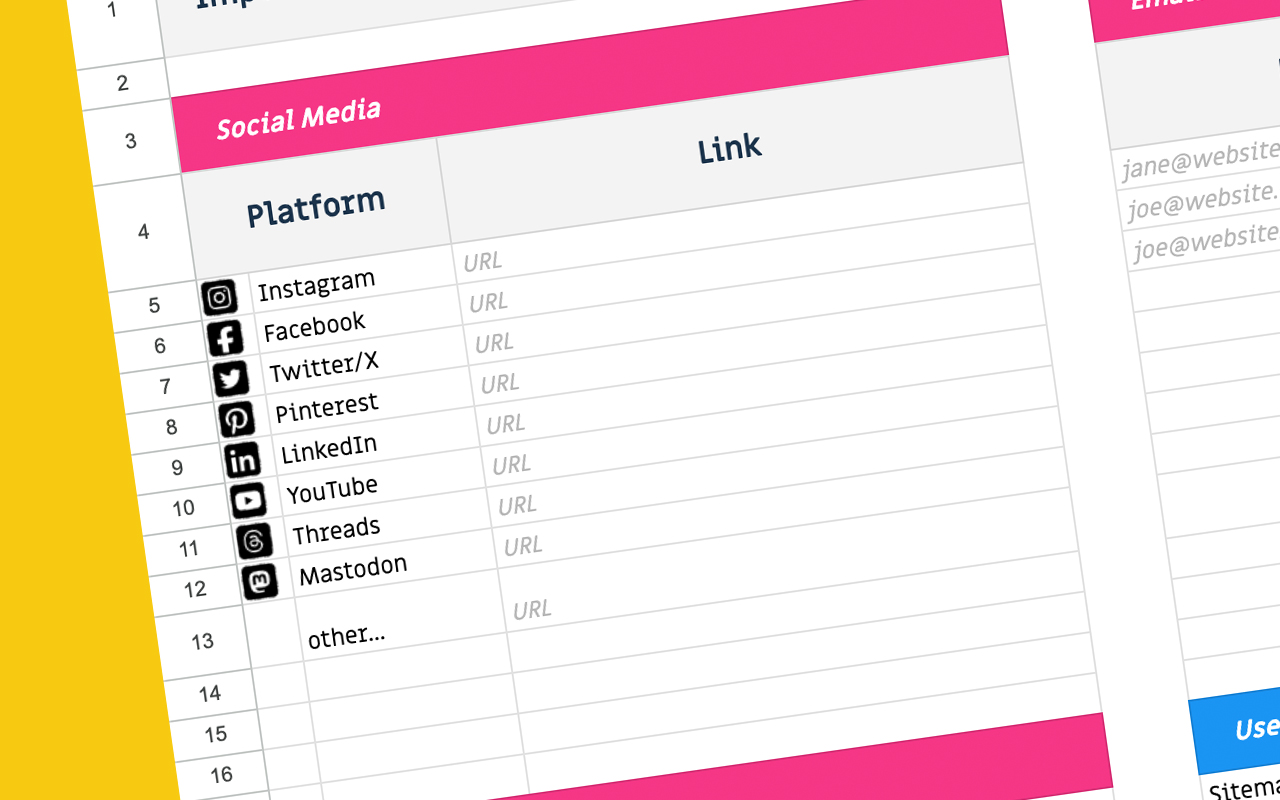
3. The third tab, ‘Reference Content’, is information both the design and developer may need to refer to at any point in the design process. This includes handles and URLs to social platforms, emails/numbers for the contact pages and forms, and other handy links to resource folders such as images, downloads or documents.
Instructions
1. Open the Google document and head to file > make a copy. This will duplicate the sheet with all its tabs to your own Google Drive. Keep one safe in a templates folder.
2. Whenever working with a new client, make a new copy and place inside a client file.
3. Within this file, also add some subfolders for images or resources they can upload to.
4. Make sure when sharing with the client, all permissions are set to ‘editor’. Also advise your client to make sure any team members are given editor permissions.